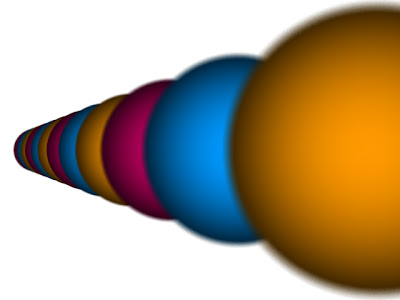
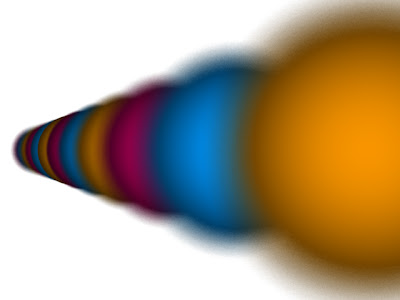
So I have finally reached the end of the second section of Ian's book, that was taking about geometry handling in renderMan. I covered Depth of Field today and for the rest of the day, I will try to go through the C API of renderMan and Hair and Particles. Here I am just discussing Depth of Field as I understand it.
RenderMan gives an amazing amount of control on the Depth of Field. The command takes 3 parameters:
A thing to keep in mind, when using any kind of blur, is that we need to increase pixel samples. The two images below show a comparison with default pixel samples and 8 samples.
f-stop
Well thats about it for now. I might make another post today with C API results.
 |
| Depth of Field with a 270 mm lens |
- Focal Distance
- Focal Length
- F-stop
Focal Distance
Focal Distance tells the renderer the distance from the camera at which the objects are in perfect focus. Objects closer than or farther than this distance appear blurred. Changing the focal distance and animating it can give a rake-focus kind of an effect.
As can be noticed in the picture above, on the left, the focus is on the 3rd sphere and on the left, the focus is on the 7th or 8th sphere. Also, the amount of blur on the first sphere is different.
Focal Length
As in real life photography, a longer lens creates more depth of field and a shorter lens creates less depth of field. Here, I have experimented with a 35mm, 60mm, 100mm, 150mm, 200mm, 270mm, 320mm, 400mm, 450mm and 600mm lens.
 |
| 35mm lens |
 |
| 60mm lens |
 |
| 100mm lens |
 |
| 150mm lens |
 |
| 200 mm lens |
 |
| 270mm lens |
 |
| 320mm lens |
 |
| 350mm lens |
 |
| 400mm lens |
 |
| 450mm lens |
A thing to keep in mind, when using any kind of blur, is that we need to increase pixel samples. The two images below show a comparison with default pixel samples and 8 samples.
 |
| Pixel samples need to be increased when adding blur |
Simply put, ceteris paribus, a small f-stop will produce a lot of blurring and a large f-stop will less blurring. In the renders below we can notice this phenomenon. For both the renders a focal distance of 4m was used on a 350mm lens.
 |
| f-stop of 8 produces less blurring |
 |
| f-stop of 2.8 produces more blurring |

No comments:
Post a Comment